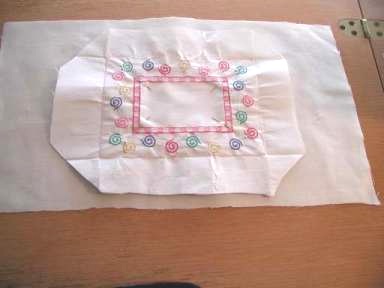
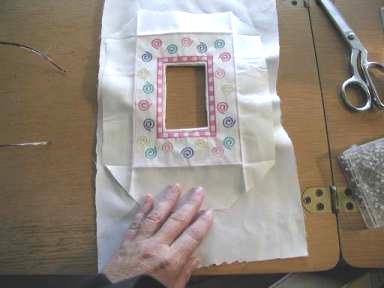
- Place your embroidered frame face down
on your piece of lining fabric.
- Pin each corner with straight pin.
|
 |
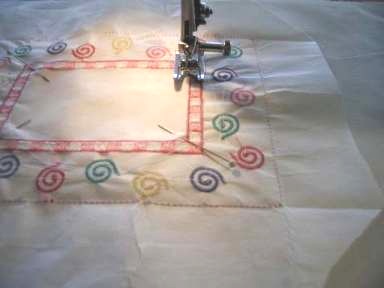
- Stitch about 1/8 inch inside the
embroidered edge. I used a very short stitch length.
|
 |
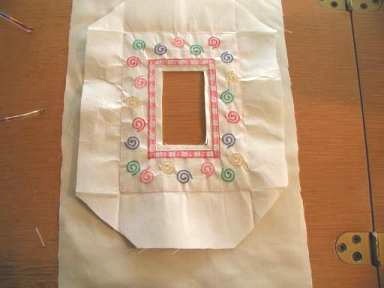
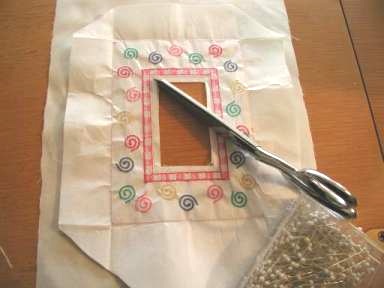
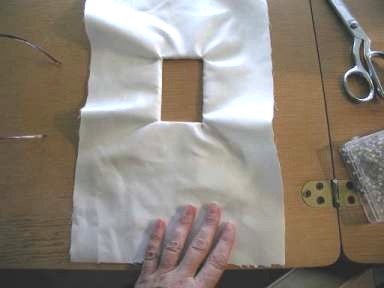
- After stitching all the way around
inside of frame, cut out the inner area about 1/4 from the stitching
line.
|
 |
- Clip each corner to stitching line.
|
 |
|
|
 |
|
|
 |
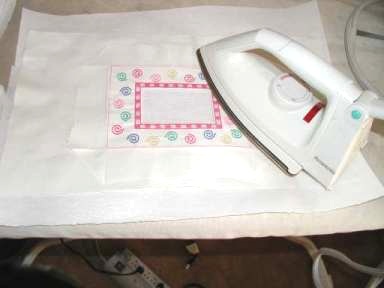
- Press with iron as you go. This will keep
each edge and corner just as you want it.
|
 |
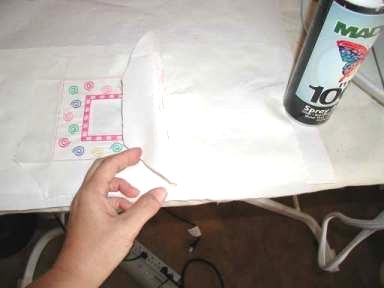
- I used a little spray adhesive to keep my
front and lining exactly where I wanted them. This will keep your
center rectangle very straight.
- Each design stitched will stitch a 5x7
outer edge. Simply cut along this stitched line and place into your
frame. Just add the picture and you are done! Just as a precaution,
measure the inner dimensions of each purchased frame you are
using...some could actually be off by a little and you will need to
adjust by cutting outside the 5x7 stitched line of your embroidered
frame.
|
 |