|
|
|
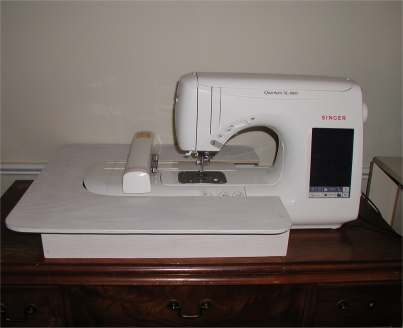
Embroidery Table
This table was another quick and easy project. It is made from a 24x24 inch piece of 1/4 plywood, 3 pieces of 18x3 inch wood and a few screws and wood glue. Total cost is about $7 and a few hours of your time. I can show you how I made mine, but each machine brand will be have different measurements and require a different center shape.
|
|
|
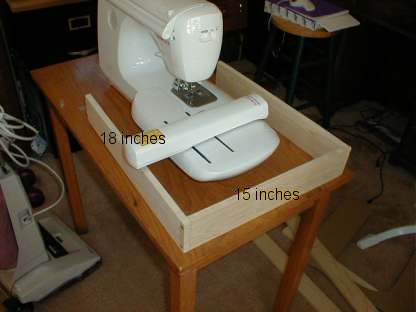
Make sure your table is low enough, you don't want your embroidery arm to hit it. |
|
|
|
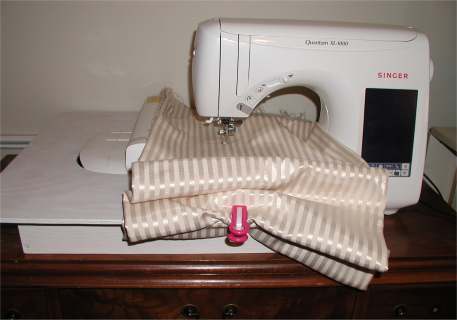
This table is so nice...there is an edge to clothespin excess fabric to...so it wont hang over the edge and pull on embroidery arm. |
|
|
|
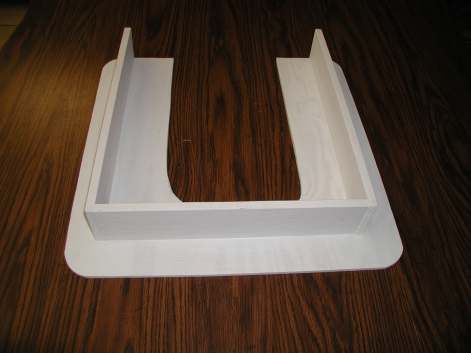
Bottom View |
|
|
|
Checking the height of the side pieces. |
|
|
|
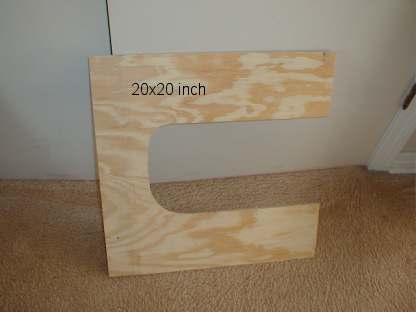
Cutting the center template. |
I started by drawing a template of my machine on brown paper. Next, I enlarged the template by about 1/4 inch. There is no need for the table to be really tight around your machine. Copy this to your 1/4 plywood and cut it out. Make sure you have centered your template on the wood exactly where you want it. Some people may prefer more table to the back of their machine than in the front. Mine was center to be equal in front and back.
Cut your side boards so that they will fit nicely around your machine. Remember to cut them so that when the top of the table is placed on the sides you will still have 1/4 to 3/8 inches of clearance for your embroidery arm. I had to trim about 1/2 inch from the sides of my boards. This was probably the most difficult part of the whole process.
Putting the pieces together is easy. I used wood glue and wood screws to put mine together. It is very sturdy!
If you have any questions email me